Take home info
Here you will find follow up information from my plein air painting classes.
Supply List
Here is a list of supplies we used in class:
- Acrylic Paints - Titanium White, Burnt Umber, Burnt Sienna, Medium Cadmium Red, Medium Cadmium Yellow, Hooker's Green, Ultramarine Blue, Dioxazine Purple
- 9x12" canvas panel, stretched canvases can let too much light through
- Collapsable Easel
- Paper plate for pallete
- 1 Flat headed brush, 3 Round Brushes of various sizes for details
- Spray Bottle for water
- Paper towerl/rag

Plein Air Painting Steps
-

Step 1
Add a "wash" of paint thinned with water to provide a rich surface to work with as you add layers.
-

Step 2
Use a view finder or your hands in a rectangle shape to help you determine the view you will paint. Try to identify 2-3 main subjects you would like render, and keep it simple. Using a thinned brown paint, loosely draw your painting.
-

Step 3
Paint in big blocks of general color for each section of your painting. Do not worry about detail yet, keep paint thinned with water still.
-

Step 4
Start adding highlights and shadows. Look for shapes of color within the landscape instead of trying to paint trees, flowers, and bark details yet. This will help keep you loose and quick, which is important during plein air since the light is always changing.
-

Step 5
Keep working with the light and shadow shapes. Start adding your finishing details until you are satisfied! Good job!


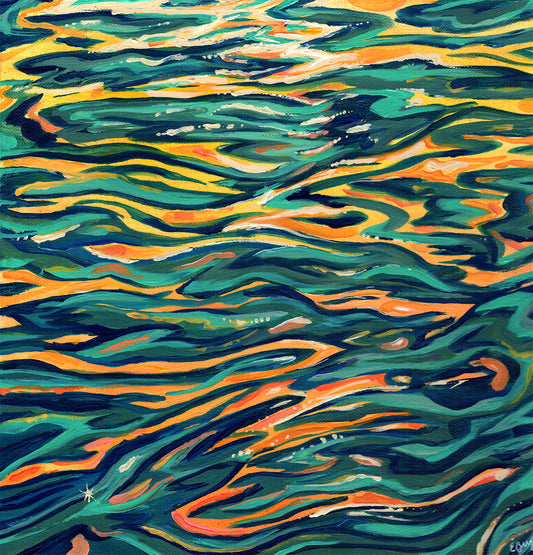
See some of my finished plein air paintings here
-
Afternoon Sparkle
Regular price $96.00 USDRegular priceUnit price per -
Sunrise Shimmer
Regular price $288.00 USDRegular priceUnit price per -
Waters of the West
Regular price $165.00 USDRegular priceUnit price per